Makeup Brushes: A Beginner’s Guide For What You Really Need.
Learning how to use makeup brushes is important. It’s the only way to get the full and proper use of the makeup products (that you probably spent a lot of money on!).
This beginner’s guide is in the order of how and when I like to use each brush type in a basic makeup routine. It’s separated into two main sections: face and eyes.
There are photo examples and Amazon links for each kind of brush to give you an idea of price and availability. You don’t need to buy expensive makeup brushes — a good quality affordable brush works just as well.
Table of Contents
Makeup Brushes For Face: Foundation, Blush, Bronzer, Highlighter
Alright, let’s jump in.
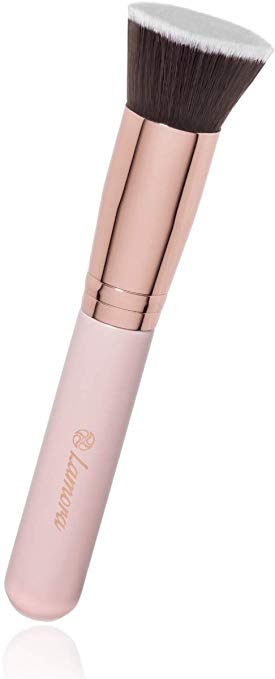
Flat top kabuki foundation brush: Foundation is usually the first step of makeup application. There are different kinds of makeup brushes to apply foundation. My favorite kind is called a flat top kabuki brush, which is basically a densely packed brush with a flat top top designed to blend out liquid and cream products evenly on the skin. I pump out my foundation on the back of my hand, dip the brush in it and then holding it perpendicular to my face blend out the foundation in stippling motions. If you take a few minutes to do this technique, then you can achieve a really smooth, airbrushed effect on the skin.
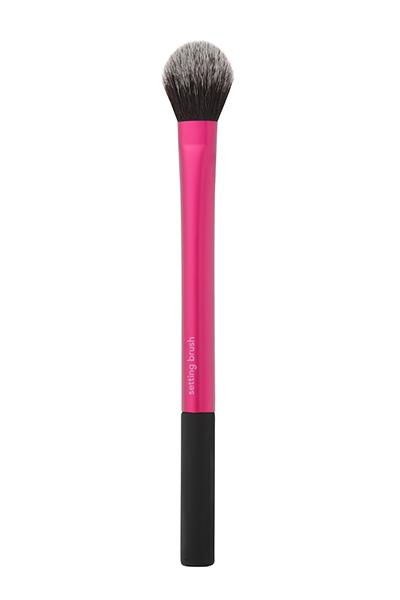
 Large and medium powder setting brush: After applying liquid / cream products such as foundation and concealer, the next step is to set the whole face with a powder. I like to keep two kinds of powder setting brushes in my kit — one larger fluffy one to set larger areas of my face like cheeks, chin and forehead and one medium-sized brush to set under and around my eyes. I dip the powder setting brush in loose powder, dust off any extra product, and then gently sweep it all over my face in circular motions.
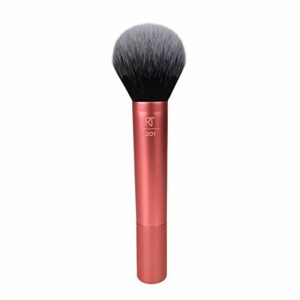
Bronzer brush: Now that the face is set with powder, it’s ready for other powder-based products like bronzer and blush. I generally like to do my bronzer first and I use a brush with an angle that can fit into the contour of my cheek bone. There are variety of angled-brushes available ranging from stiff to soft; I prefer to use a softer brush because there is less risk of applying too much product and it’s easier to blend out.
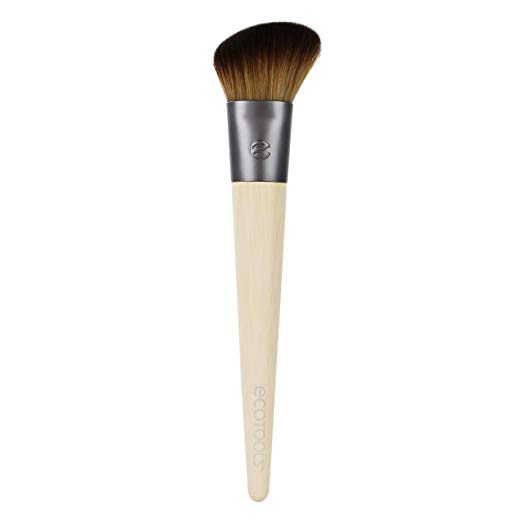
Blush brush: After bronzer is done, blush is next. Using a blush brush I apply the blush on the apples of my cheeks using large circular motions and sweep backwards following the angle of my bronzer. Make sure to blend the two together. Blush application depends on the individual’s preference.
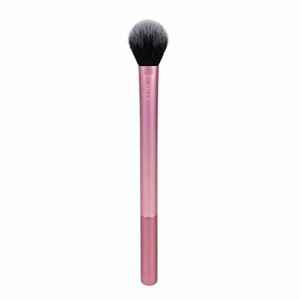
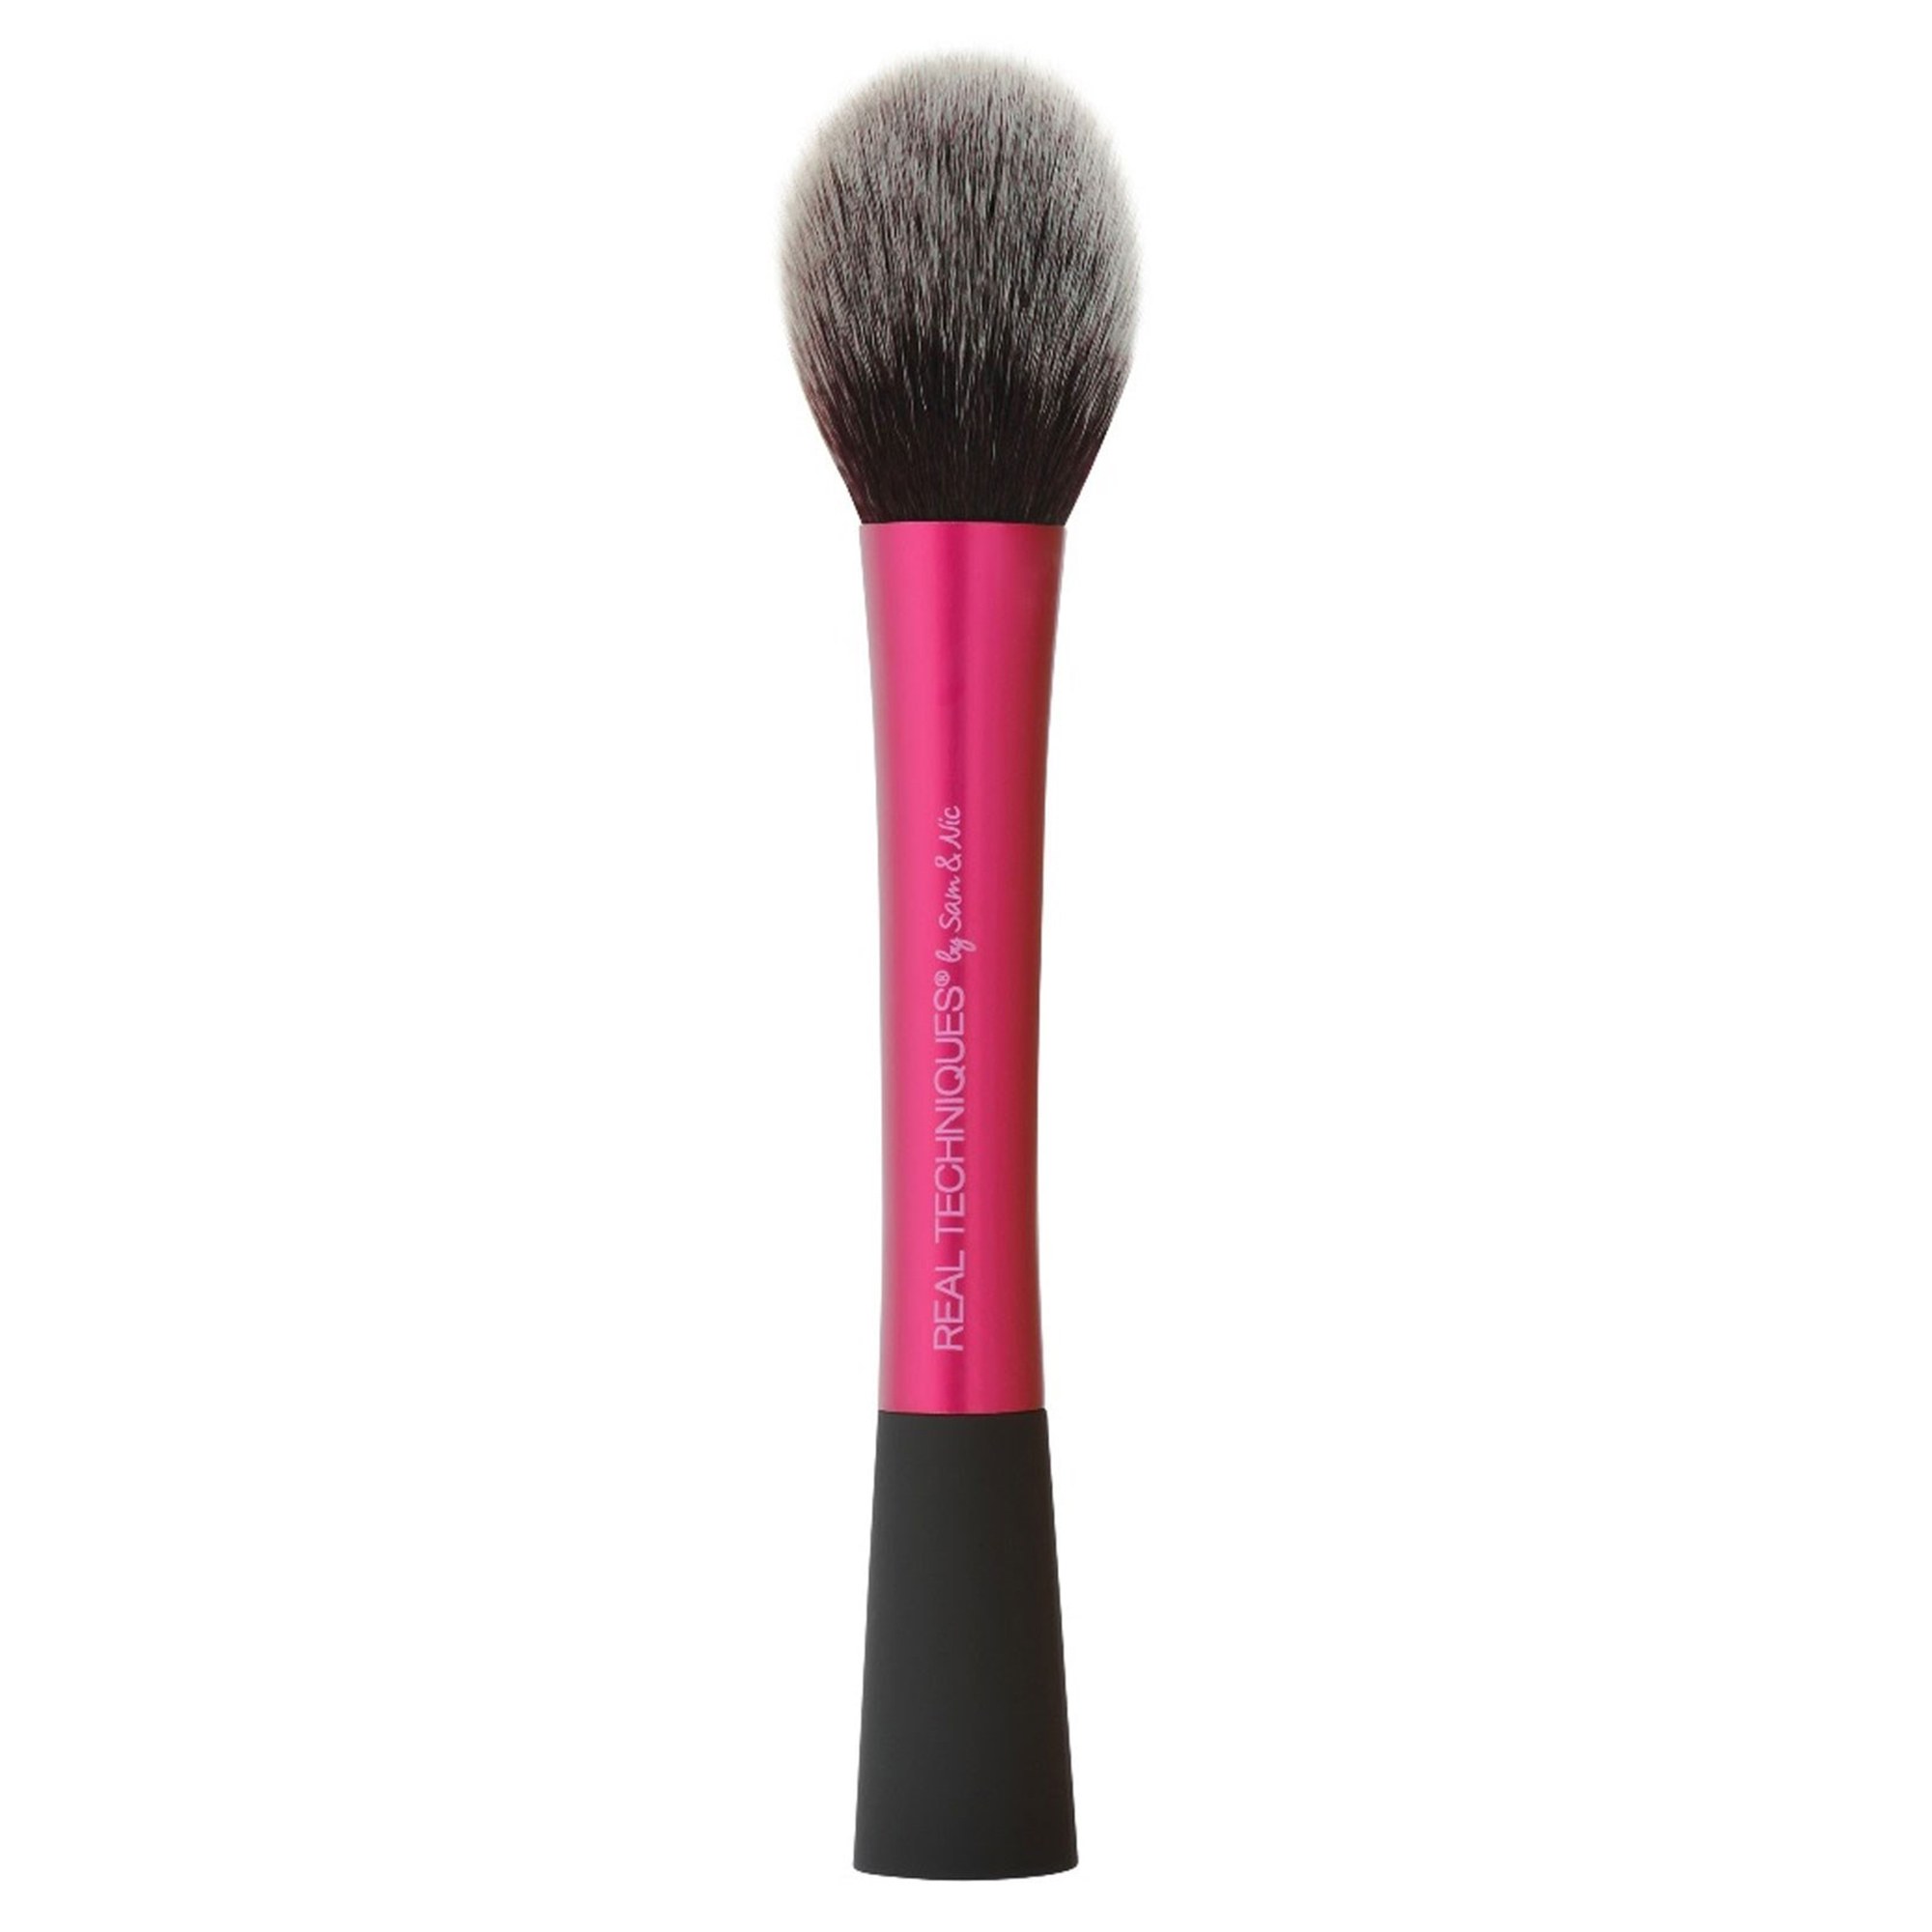 Highlighter brush: To finish off the cheeks and face makeup, I apply highlighter to the highest points of my face: top of cheek bones, eyebrow bone, bridge and tip of nose. These are the spots where light naturally hits the face. I like to use a smaller domed-shaped brush to apply highlighter in very small circular motions to create a natural look.
Related:
How To Clean Makeup Brushes With The Beauty Blender Cleanser Solid
3 Must-Have Makeup Products To Contour And Sculpt Cheeks on Medium Brown Skin Tone
Eyeshadow Palettes For Medium Skin Tones and Brown Eyes
Makeup Brushes For Eyes and Eyeshadow
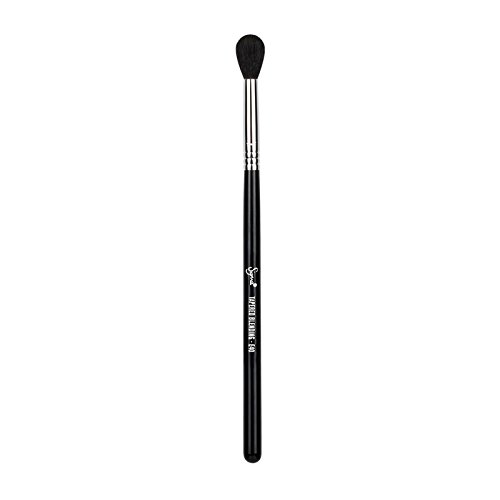
Eyeshadow blending brush: Finding a good blending brush is the key to a well-blended eye look. The bristles should be extremely soft and the brush head should be long and tapered towards the end, so it fits in the crease comfortably.
The first step of any eye look is to apply a crease shade such as a neutral light brown and blending it out following the natural shape of the crease. This is to create a general shape and base on which to build other colors; it helps to build dimension and depth. Some prefer to use the brush in circular motions while others will sweep — I don’t think there’s a right or wrong way. The important thing is to build the color slowly, pay attention to the shape of the crease, and ensure there are no harsh edges. I like to keep two of these in my kit incase I want to blend more colors in my crease or blend out edges.
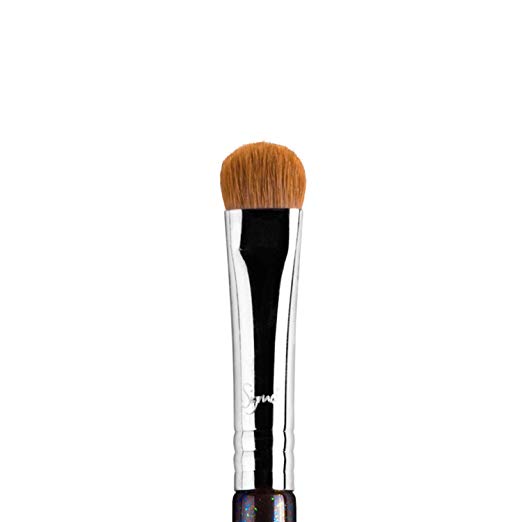
 Shader eyeshadow brush: After applying a base color in the crease, then I apply another color right on the eyelid. Be careful not to go too far into the crease and stop where the natural inwards dip of the eyeball appears when you close your eyes using a shader brush. This kind of brush is stiffer and designed to pack color on more precisely. You can choose to apply a deeper matte shade right on the lid or go in with a shimmer or glitter. The key to using the flat-tipped brush is to apply the color in small tapping motions across the lid, instead of sweeping it across in one big motion. This allows for more precise and controlled application and the color is more tightly packed and vibrant.
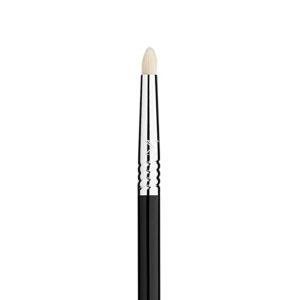
Pencil eyeshadow brush: To balance out the top of the eyes, I use a pencil brush, which is a much smaller brush with densely-packed bristles, and apply the same color that is in my crease on my lower lash line like a smoked out eyeliner. This is optional but I think it’s a good practice to complete any eye look. Sometimes a pencil brush is also called a smudge brush.
If you’re a beginner or just wanting to build a simple makeup brush kit, I think these brushes are the most important ones to have to complete a full face of makeup.
Thanks for this useful guide. I didn’t know there was a difference between a highlighter and a blush brush. Also, I like the foundation brush you picked. Please publish more make-up guides!
Thank you for your comment! I’m very glad you found the guide useful. Let me know what other kinds of guides you would be interested in 🙂
Such an useful article for beginners. Plus the details are very helpful. Keep publishing such content
Thank you so much for your kind comment, Shivani! I’m so glad to hear you found it helpful. 🙂